How to Grant Access to Google Tag Manager, Analytics, and Search Console
The need to grant access to the account may arise when a new person or team needs to view, configure, edit, and administer the profile.
Important:
! You can share access only with existing accounts created with Google services—accounts.google.com—or accounts of other email services (for this you must register a mailing address in https://accounts.google.com/SignUpWithoutGmail).
Let’s consider sharing access to each service separately:
Google Tag Manager
Google Tag Manager (GTM) is a tool that facilitates work with a website code and scripts for webmasters and analysts. After placing the JavaScript code, generated by GTM, it becomes possible to add new scripts, without directly placing them in the source code of the website.
Thus, all edits are made on the page of https://tagmanager.google.com/ service.
There are two ways to share access in the Tag Manager:
1. View and manage at the Account level.
- User – view only.
- Admin – view and add new users.
2. Configure and edit at the Container level.
- Read – read-only.
- Edit – the ability to edit.
- Approval – the right to confirm requests for adding tags, links to external accounts.
- Publication – the right to publish containers.
To grant access at the level of the Google Tag Manager account, you should:
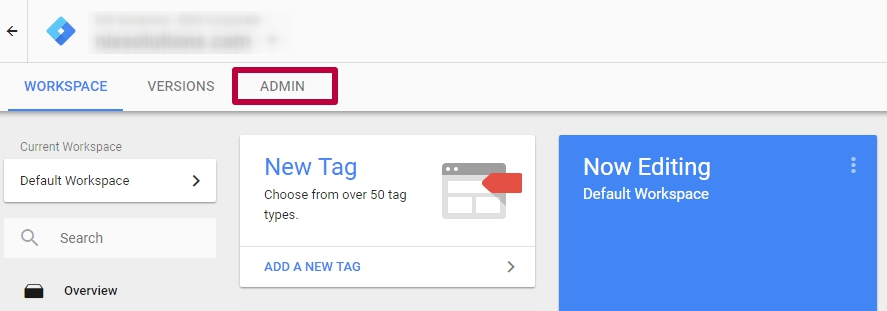
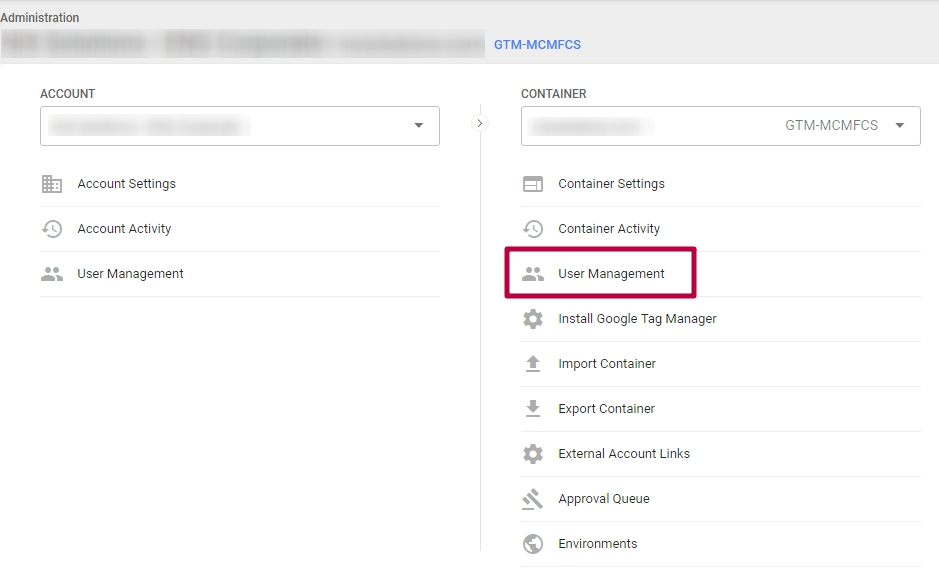
1. Log into the system. On the main page, select the Admin section.
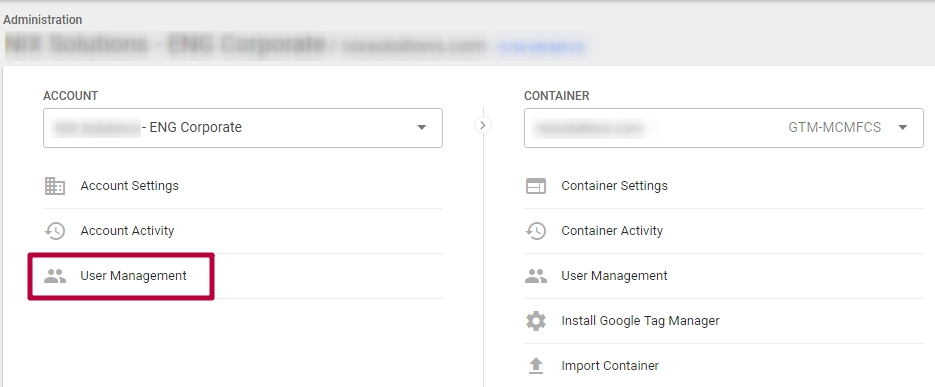
2. In the left block of Account, find the item “User Management.”
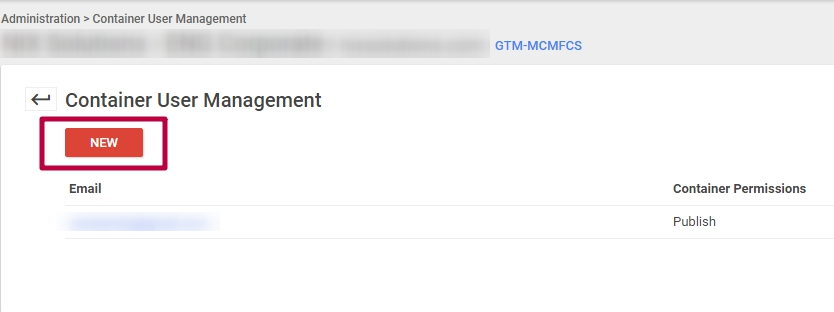
3. Create a new user by pressing the “NEW” button.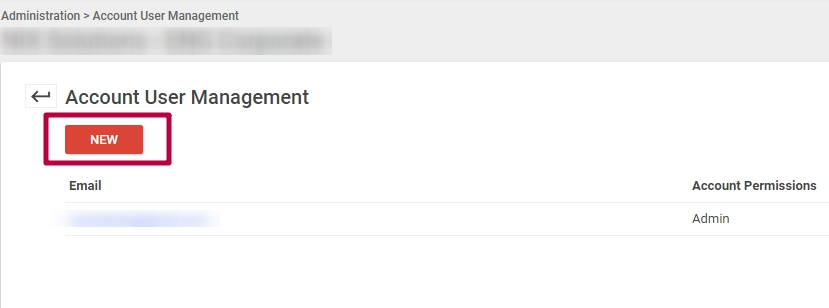
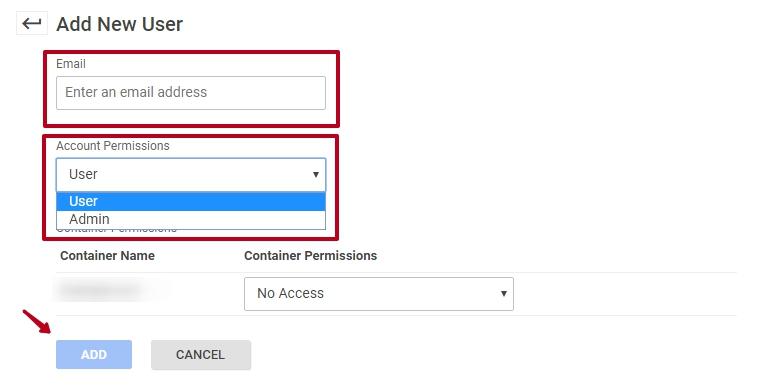
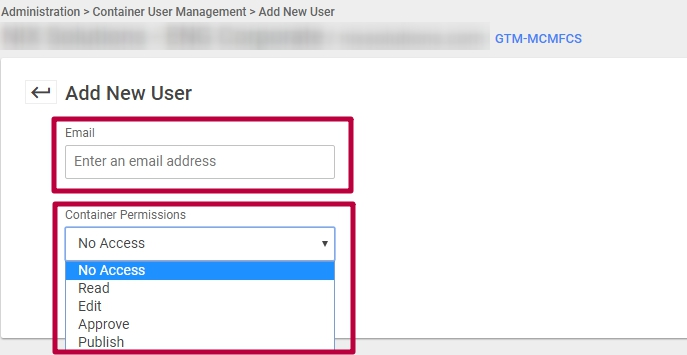
4. In the appeared window enter the user’s email address and select the required level of access:
- User;
- Admin;
Click the Add button.
To grant access at the level of Google Tag Manager Container, you have to:
1. Go to the Admin tab. In the Container block, select User Management.
2. Add a new user by clicking the New button in the appeared section.
3. Enter the user’s email address and the type of container access:
-
Read;
-
Edit;
-
Approve;
-
Publish;
Click the Add button.
Google Analytics
Google Analytics is a service that allows you to collect statistics of website visits.
In this service, you can provide three types of access:
-
Access to the account – the user will have access to all of the sites in this account.
-
Access to the resource – the user will only have access to a certain site in the account.
-
Access to the view – the user will only have access to a specific view from the account.
To provide one of three types of access you need to:
-
Log into your account.
-
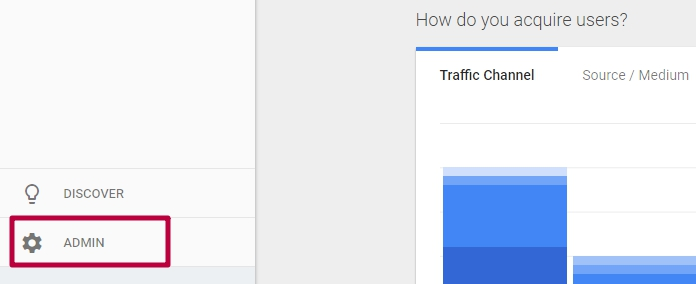
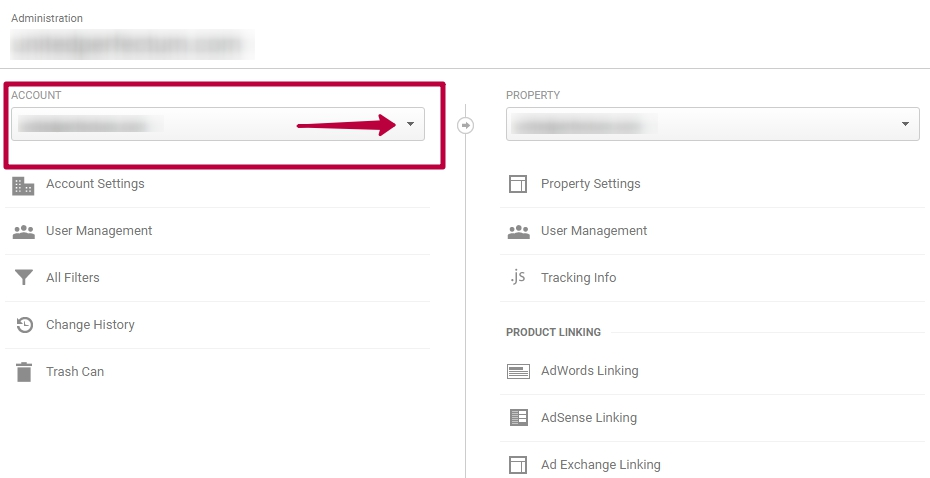
In the left menu, find the Admin section and click on it.
-
If there is more than one account, select the one you need from the drop-down menu on the top. If the account is one, go directly to step 4.
-
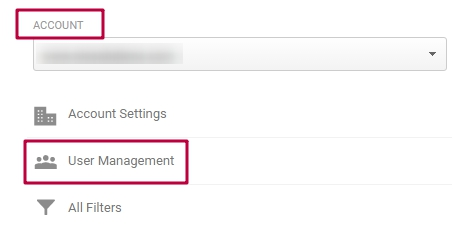
Depending on what access you want to provide to the user, you need to select the User Management item in the corresponding block:
- Access to the account: ACCOUNT – User Management.
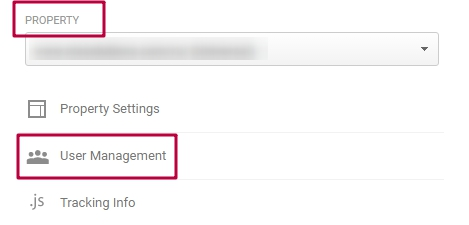
 Access to the resource: PROPERTY – User Management.
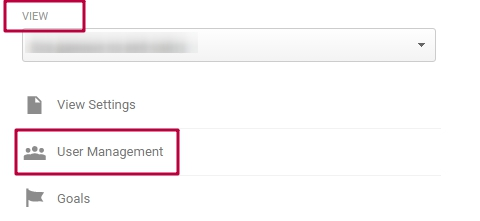
- Access to the view: VIEW – User Management.
-
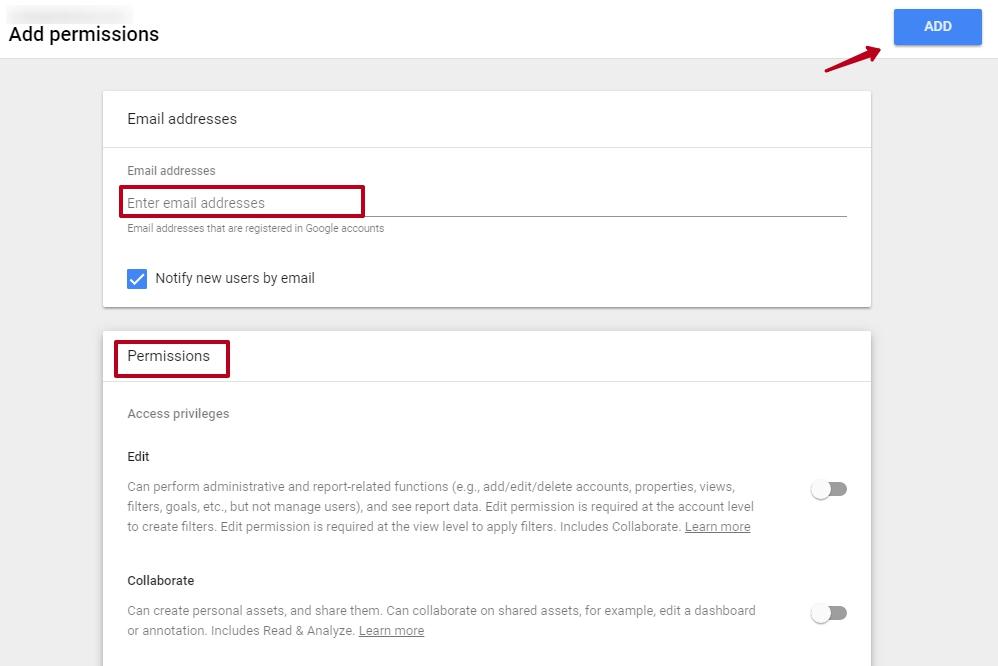
In the appeared window, click on “+” at the top right corner, specify the user’s email address and access type:
-
edit;
-
collaborate;
-
read & analyze;
-
manage users;
Click the Add button.

Important:
! Full access with the ability to edit is necessary for the webmaster to be able to:
-
Create goals;
-
Add filters;
Google Search Console
Google Search Console is a service for webmasters, website owners, analysts, and SEO professionals, which allows to assess the quality of the site, identify errors, and get recommendations for optimizing the resource.
Important:
! Under each existing version of the site (http/https, www/non-www), separate access is granted to the account. This is necessary to specify the current main version of the site in Search Console and be able to monitor the status and make changes (for example Disavow Tool) in all available versions.
To edit access rights:
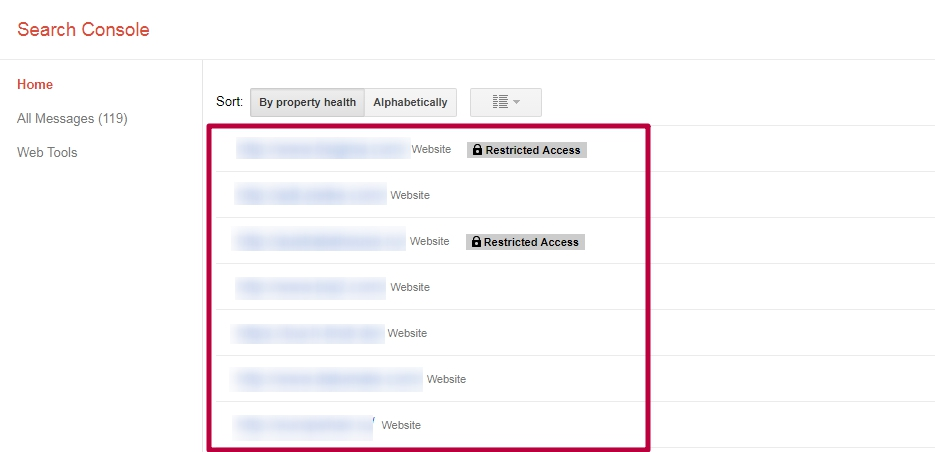
- Log into your account. If you have multiple sites on the same account, select the resource to which the access right will be shared. If the site is only one, go directly to step 2.
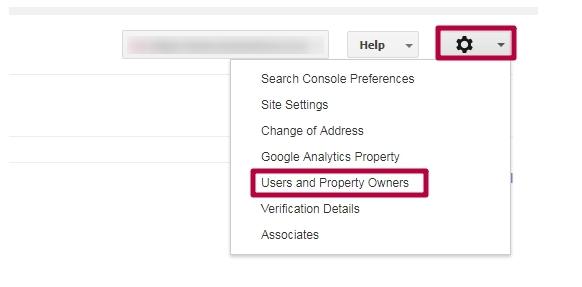
- In the top right corner, select the gear icon and select Users and Property Owners from the drop-down menu.
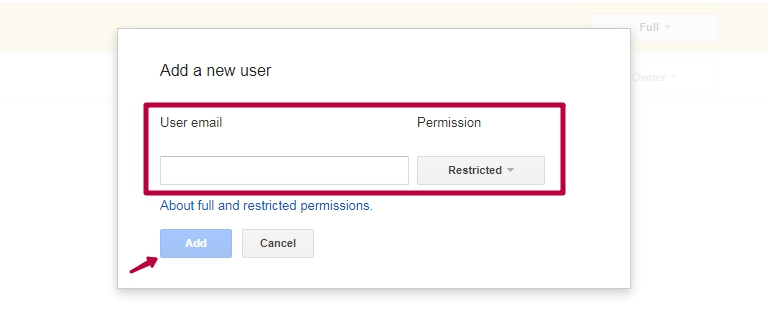
- In the upper right corner, click the Add a new user button.
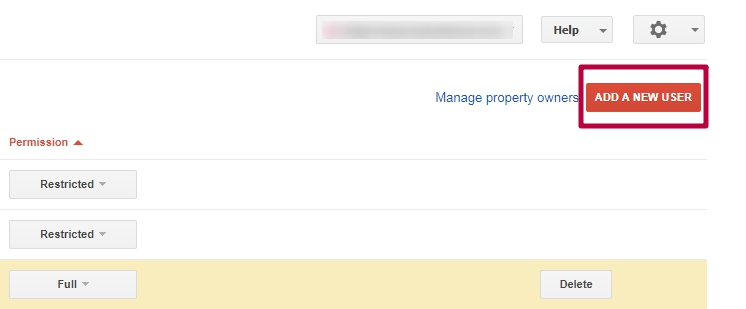
- In the appeared window, enter the user’s e-mail address and access type:
- Restricted (restricted access, only data viewing);
- Full (full access with the right of editing);
Click the Add button.
Important:
! Only with full access and editing rights, the webmaster and/or SEO specialist can:
- Add and test sitemap.xml, remove its unnecessary parts;
- Check for robots.txt errors;
- Hide/remove URLs from the SERP;
- Determine the primary domain (www / non-www, http / https);
- Transfer site to another domain, in order to accelerate the indexing of a new site;
- Determine the frequency of resource scanning;
- Configure URL parameters (for what purpose parameters are used in the URL);
- Manually mark off structured data.


